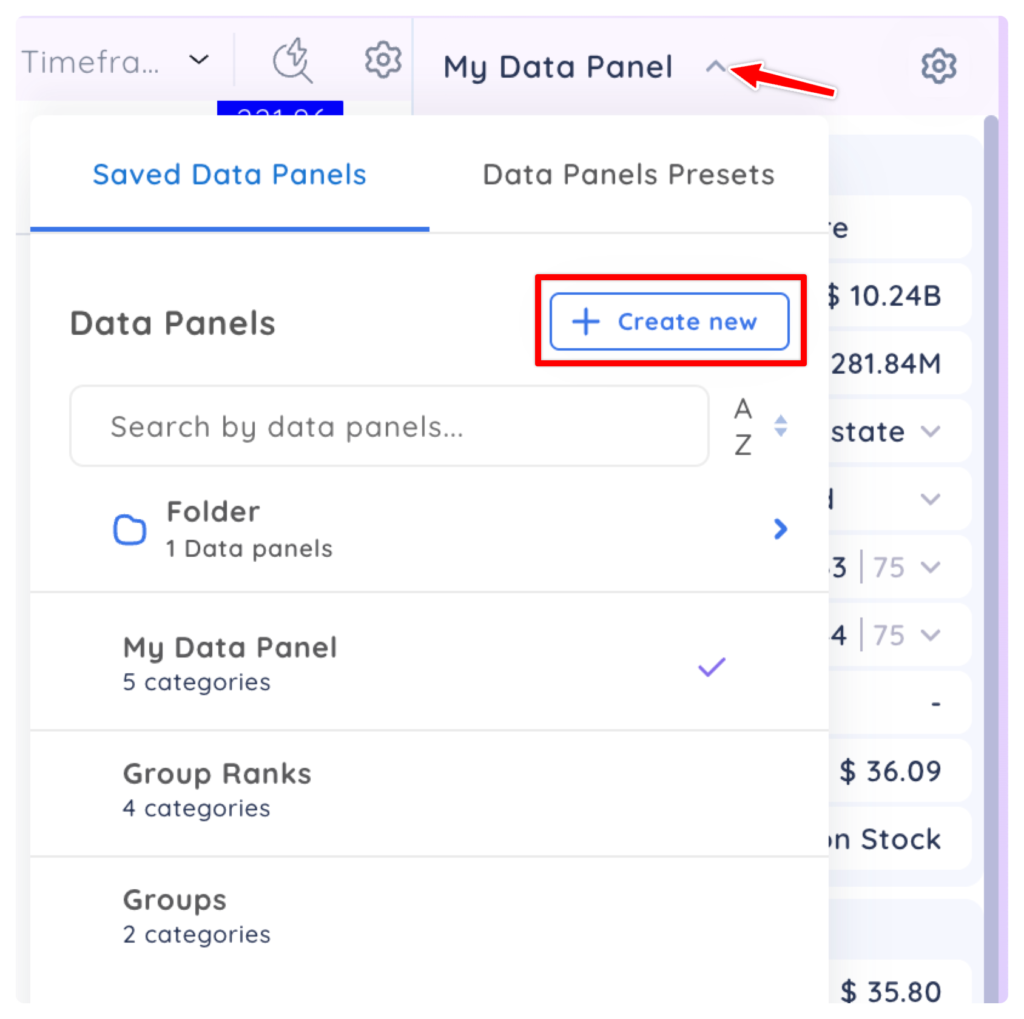
Click the Data Panel dropdown menu then click ‘Create new’ and Select Data Panel
In the ‘Create Data Panel’ pop-up, you can name, describe, and choose a folder for your new ‘Data Panel.’ When you are done, click ‘Save.’

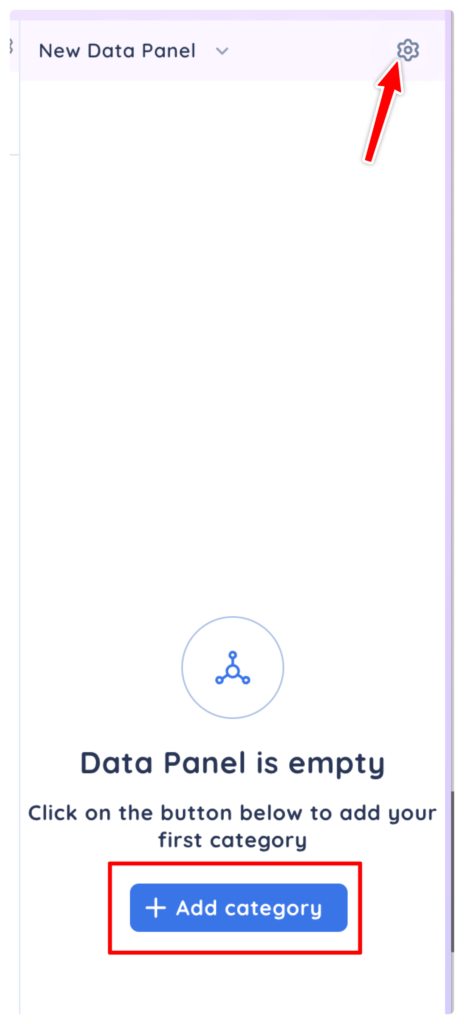
To get started, click the Add Category button or the gear icon to start creating categories and adding data points.
In edit mode you can add/remove data points, create categories and drag and drop data points and categories to fully customize your Data Panel
To create a new category, click the + Add then name your category.
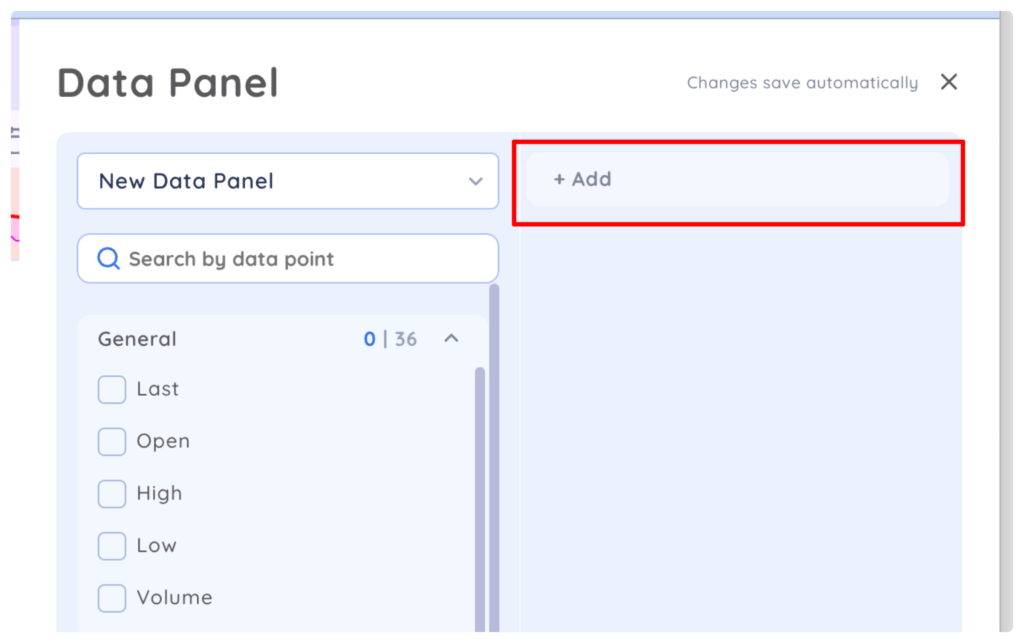
Once you have a category created, you can select data points from the categories on the left. To add a data point, click the checkbox. To remove a data point, unselect the checkbox or click the x in the category
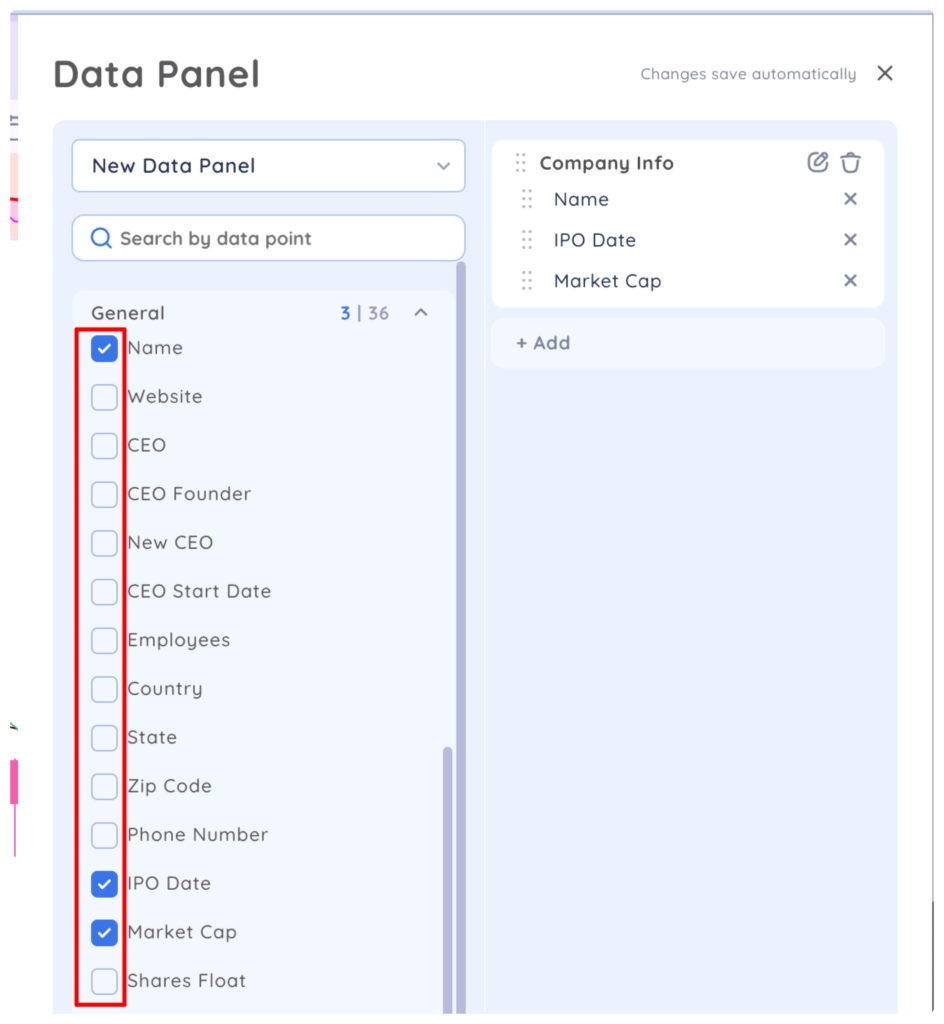
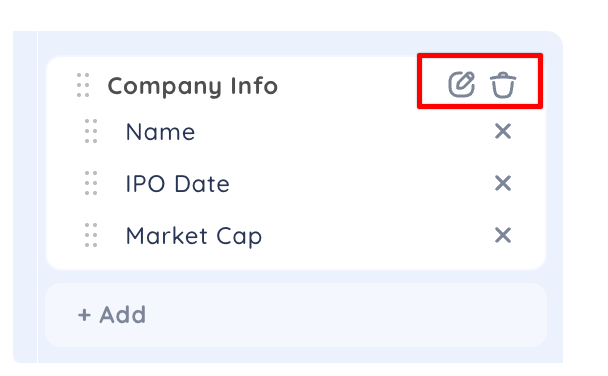
To edit the name of a category click the pencil icon. To delete a category and all the data points in it, click the trashcan icon.
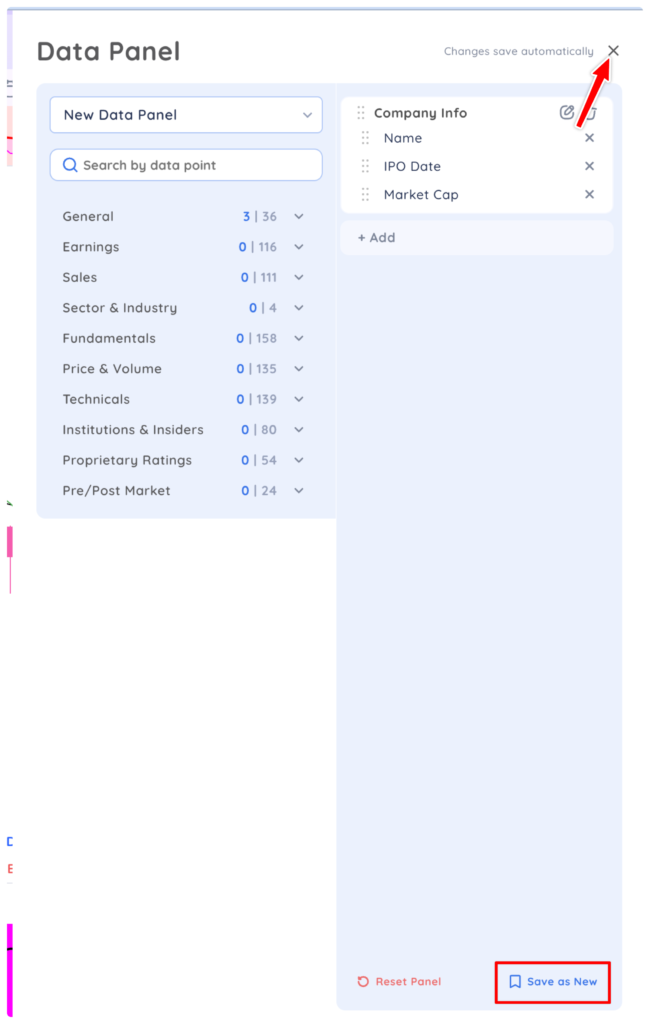
When you are done, click the x to exit edit mode. All changes are automatically saved. You can also save the Data Panel as a new data panel with a different name by clicking Save as New.
